
Many predator anglers want to make their own end tackle but do not exactly know how to make wire traces for pike or zander. Making your own traces can save you money and bring you a lot of joy, but you have to know how to do it the right way., which is why I wrote this in-depth DIY guide.
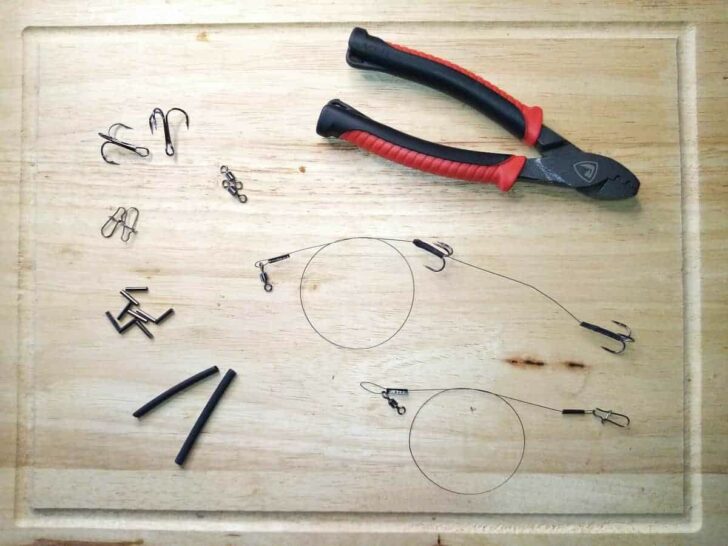
All you need in order to tie your own pike or zander trace is a dependable wire material of 15-30lb, size 4-6 treble hooks, crimp sleeves, a crimping tool, shrink tubing, as well as barrel swivels, lock snaps, and a few minutes of your time.
Continue reading this article if you want know exactly how to make your own high-quality predator wire traces.
What Tackle Do You Need to Make Wire Traces?
Wire Material
There are really only two types of wire trace material you should be using for your predator fishing; multi-strand stainless steel or titanium.
Both are supreme choices when it comes to wire traces and both have a lot to offer:
- great flexibility
- kink-resistant
- non-corrosive
- easy and fast to tie
- very decently priced
Use a 15lb strength for zander and a 25-30lb for pike. When it comes to trace lengths, I like to use a 10-12 inch trace for lure fishing, and a 15-20 inch trance for bait fishing.
The technology surrounding this type of tackle has come a long way and these two materials are the very pinnacle of this innovative wave.
The, by far, best multi-strand stainless steel wire would be the Drennan Soft Strand. Take a closer look at this awesome wire on Amazon.
When it comes to titanium, the absolute best choice is the Daiwa Prorex. You can find out more about this superb wire trance on Amazon
Treble Hooks
For pike, I usually go for size 4 treble hooks, while I use size 6 trebles for zander. The size 4 can seem a little too big at times, especially when you only catch jacks.
But trust me, when those bigger fish enter the scene, you are glad that you have slightly bigger hooks on!
I recommend the Gamakatsu Short Shank Treble Hooks, which are amazingly strong and reliable. Check them out on Amazon!
Crimps Sleeves
Using qualitative crimp sleeves is crucial for making lasting predator wire traces. They should be super strong, but at the same time, they shouldn’t cut or crush the wire under pressure.
Make sure to use a diameter of 1.4-1.8mm.
Barrel Swivels and Lock Snaps
In order to connect your traces to your mainline, you will need barrel swivels.
I much prefer using a 40-50lb size 6-8 barrel swivel, as they have to do most of the work when playing the bigger fish.
The same goes for lock snaps, which you will be needed for your lure traces. 40-60lb heavy-duty snaps are definitely recommended!
Shrink Tubing
It’s important to use shrink tubing with a big enough diameter in order for the tube to fit over the treble-s eye and shank.
Hence, a tube diameter of 2-2.4mm is the perfect choice for wire traces.
It is also crucial to use really tight tubing for making sliding trebles, if you choose to make trace that can be adjusted to different bait sizes.
Tools
You will also need a strong crimping tool in order to press the crimps onto your wire trace, as well as a wire cutter to be able to cut the trace to the desired lengths.
Head over to Amazon and check out the crimping tool I use for my tackle.
You can find a solid wire cutter on Amazon by clicking on this link.
How to Tie a Wire Trace for Dead and Live Bait Fishing
There are really two ways of tying dead and live bait traces; one is to make a fixed trace, the other one is to make a trace with an adjustable upper treble.
I prefer to use the Drennan Soft Strand Steel Wire (Amazon link here) for my bait traces, as they are somewhat stiffer than titanium, which helps prevent the baitfish to get tangled up in the wire. This holds especially true for live bait!
Making a fixed bait trace
This first alternative is for traces with a fixed distance between the two treble hooks. For this example, we will be using crimps only.
Step 1) Attach a crimp and the lower treble
Simply put on both a crimp and a treble to one end of your wire trace. Now, take the tag end of the wire, loop it back towards the crimp, and then thread it through the crimp.

Next, squeeze the crimp tightly around the trace using your crimp pliers.

Now, the first treble is securely attached to your bait trace.

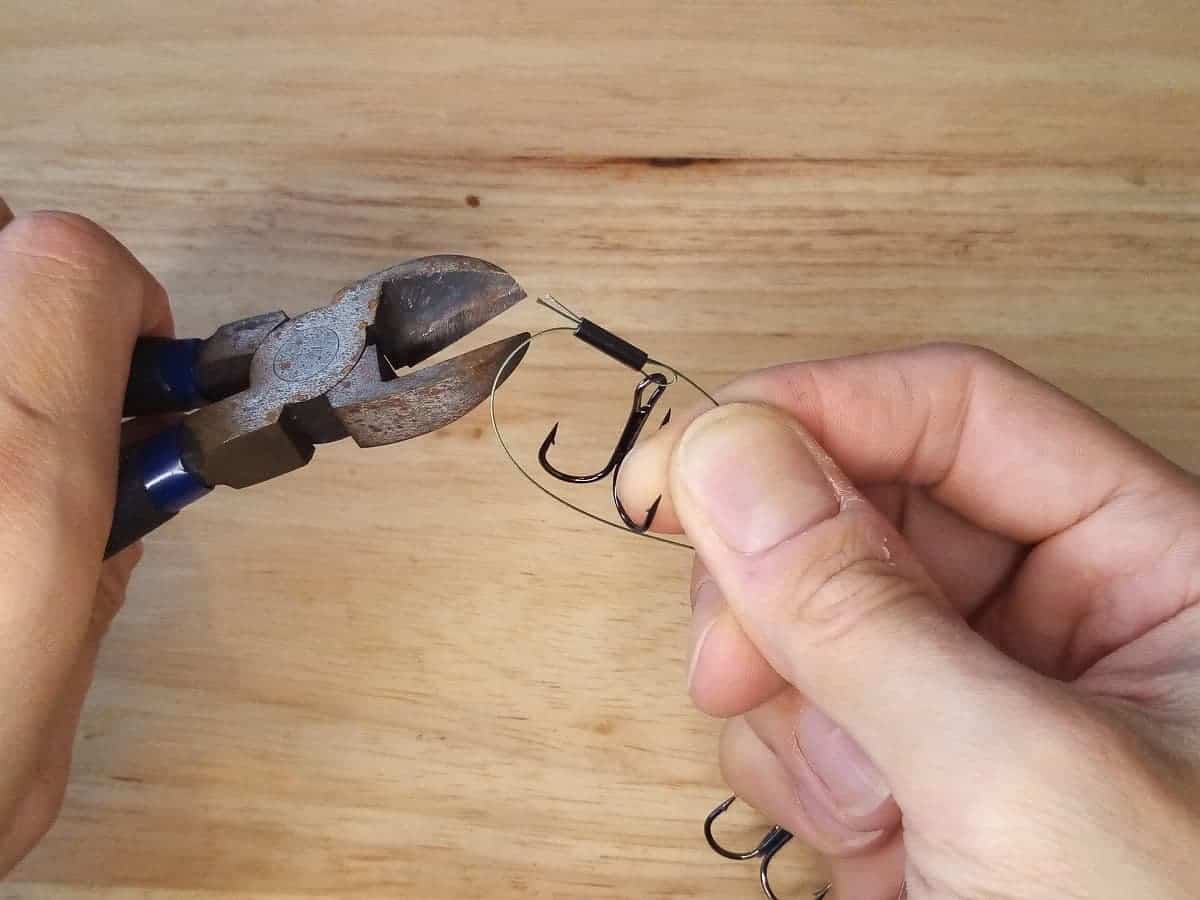
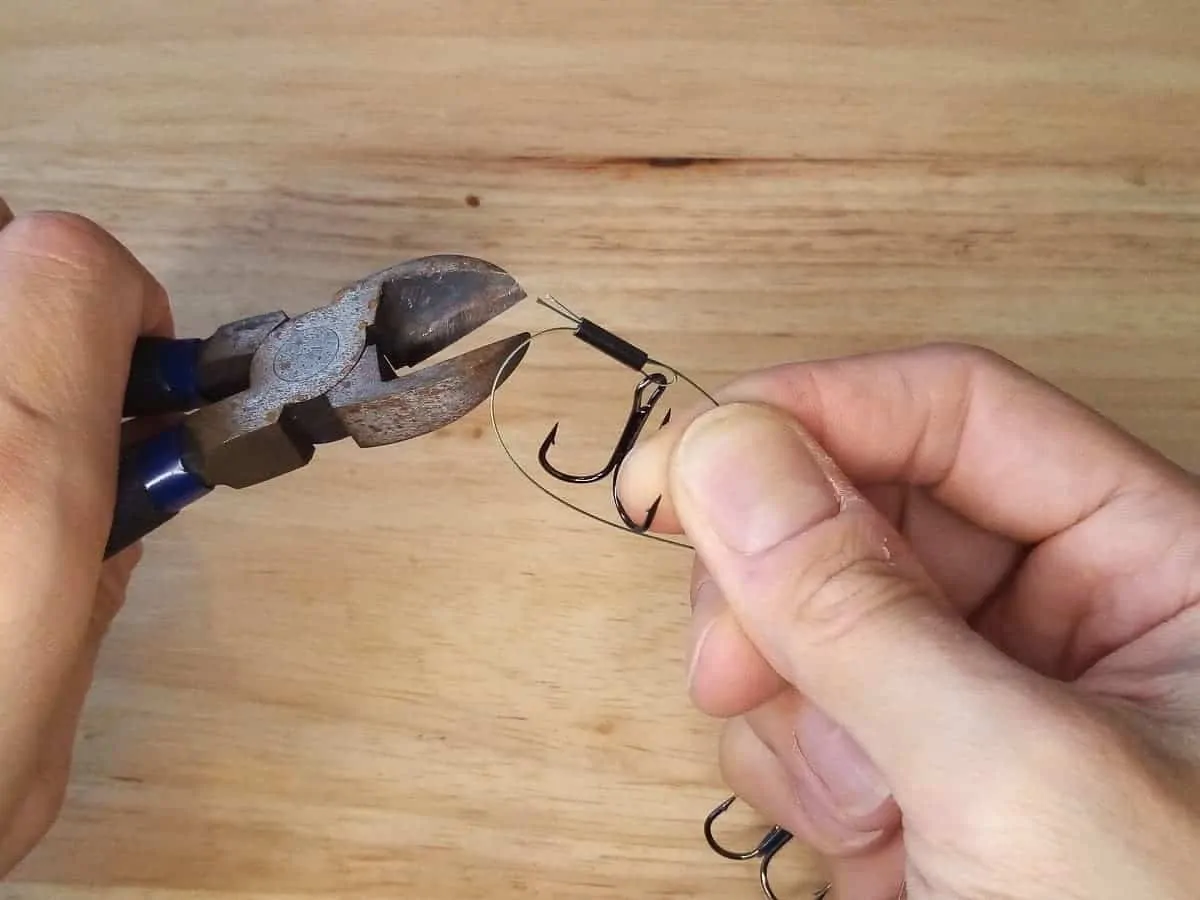
Pro Tip: Make sure to trim off any remaining piece of the tag end, should it be sticking out from the crimp sleeve. This can cause tangles when casting out, as your trace or line can get caught in it!
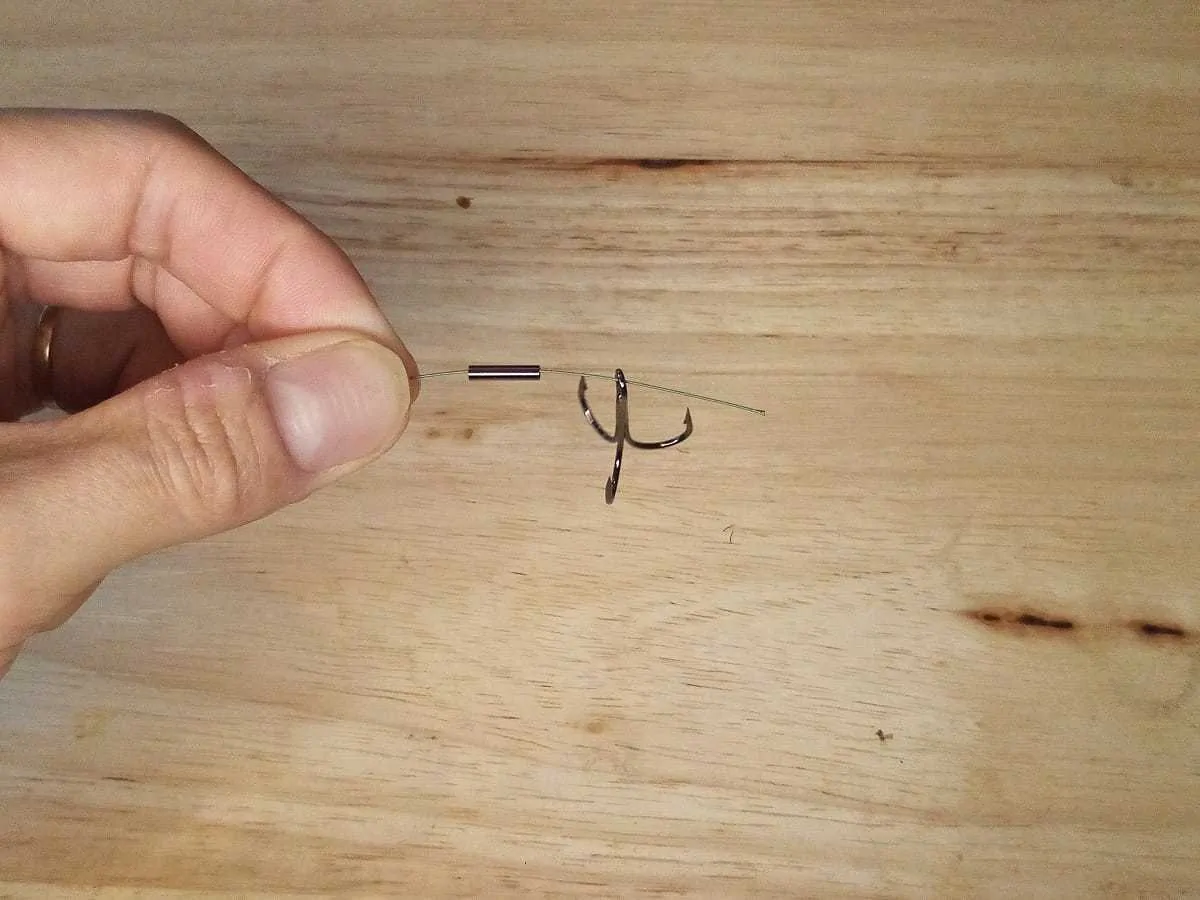
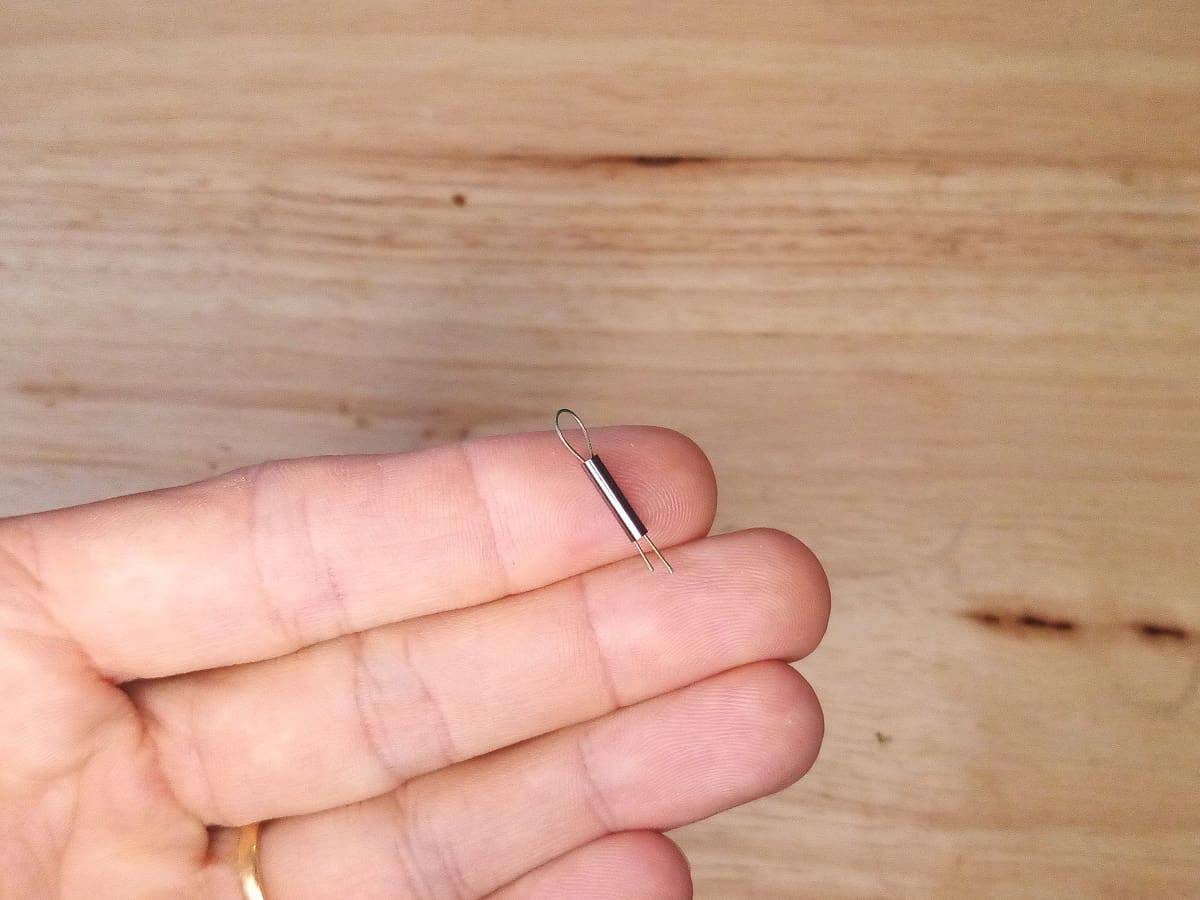
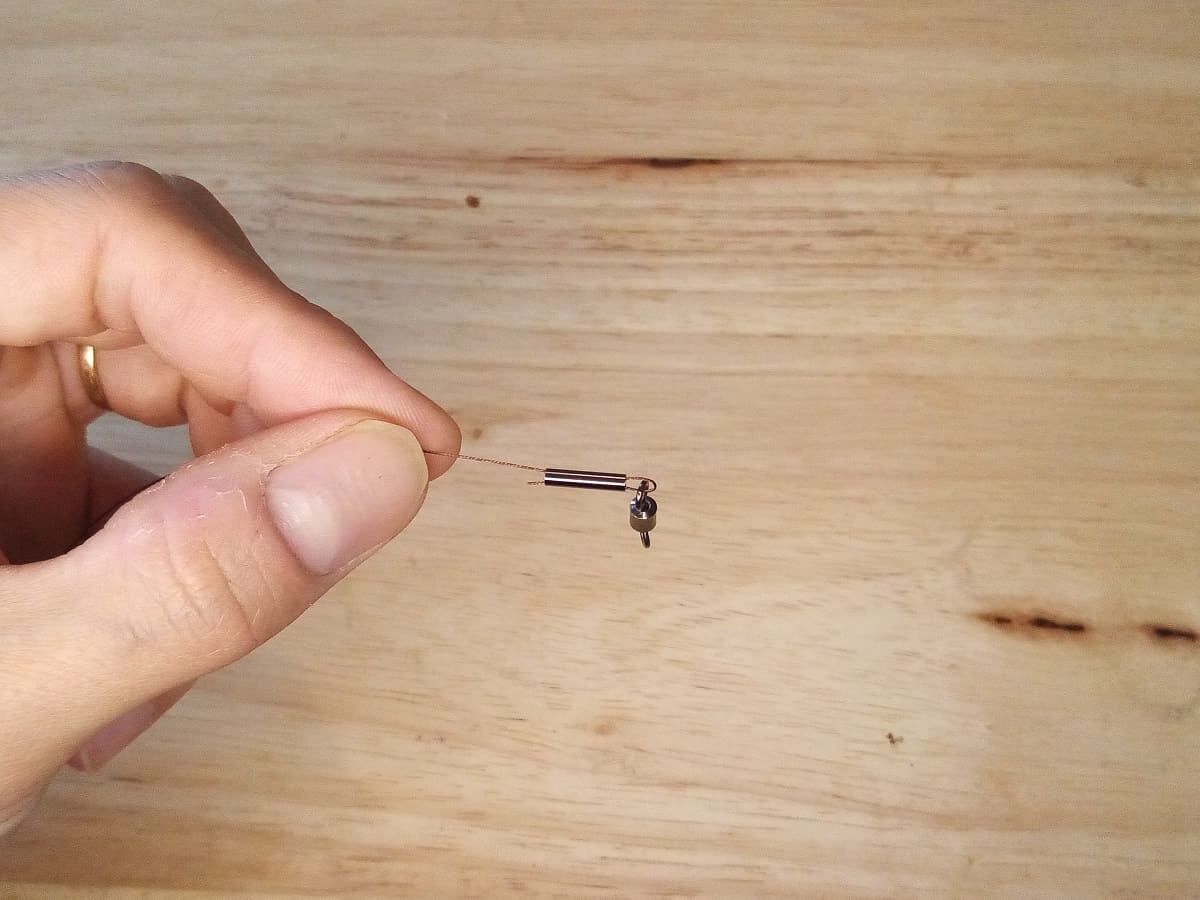
Step 2) Put on a second crimp sleeve with a wire loop
For this next step, you will be needing a second crimp and a 1-2 inch long piece of your wire trace. This will be used to form the loop for the upper treble on your trace.
Simply press the wire piece together on both ends, forming a U-shape, and thread both ends through the crimp sleeve, so that a little loop is created.
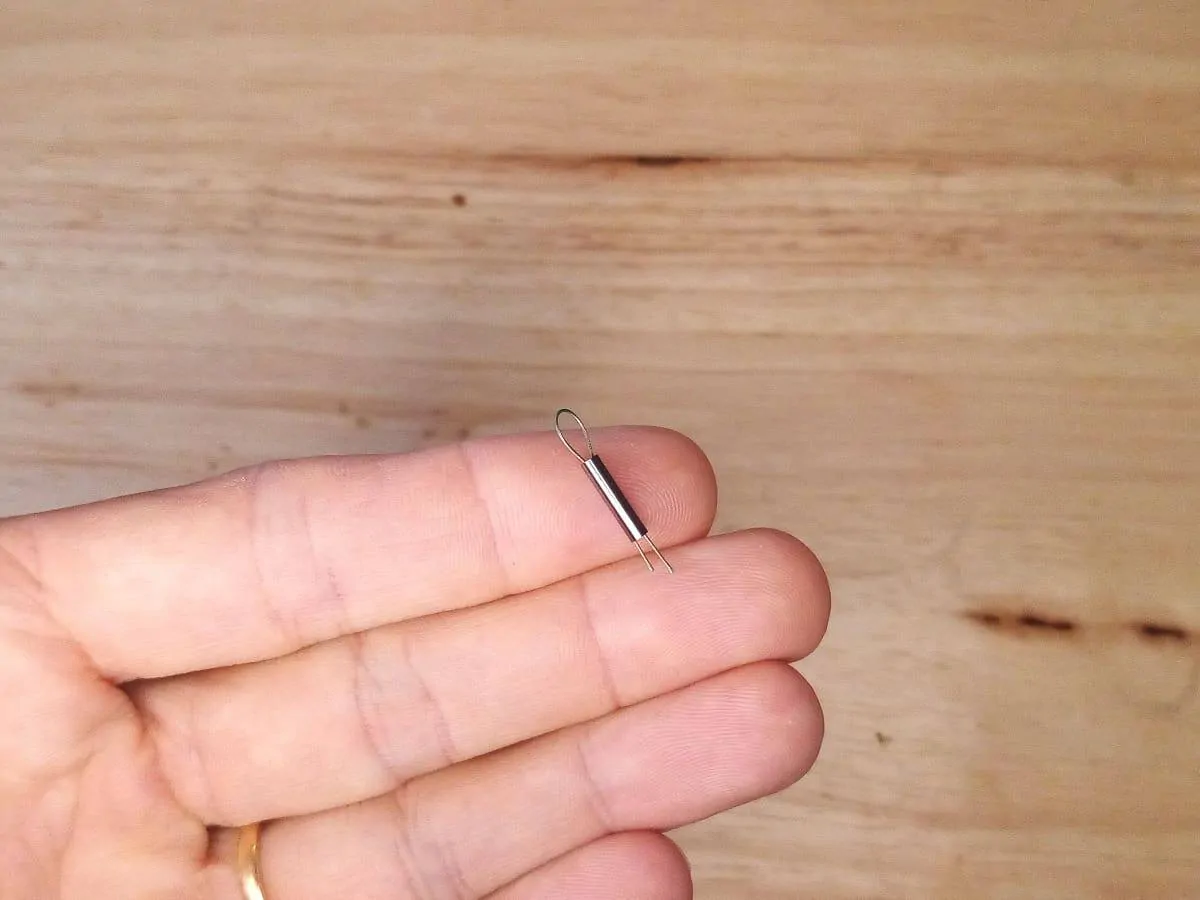
Now, Simply put the crimp with the wire loop onto your main trace, with the loop facing downwards.
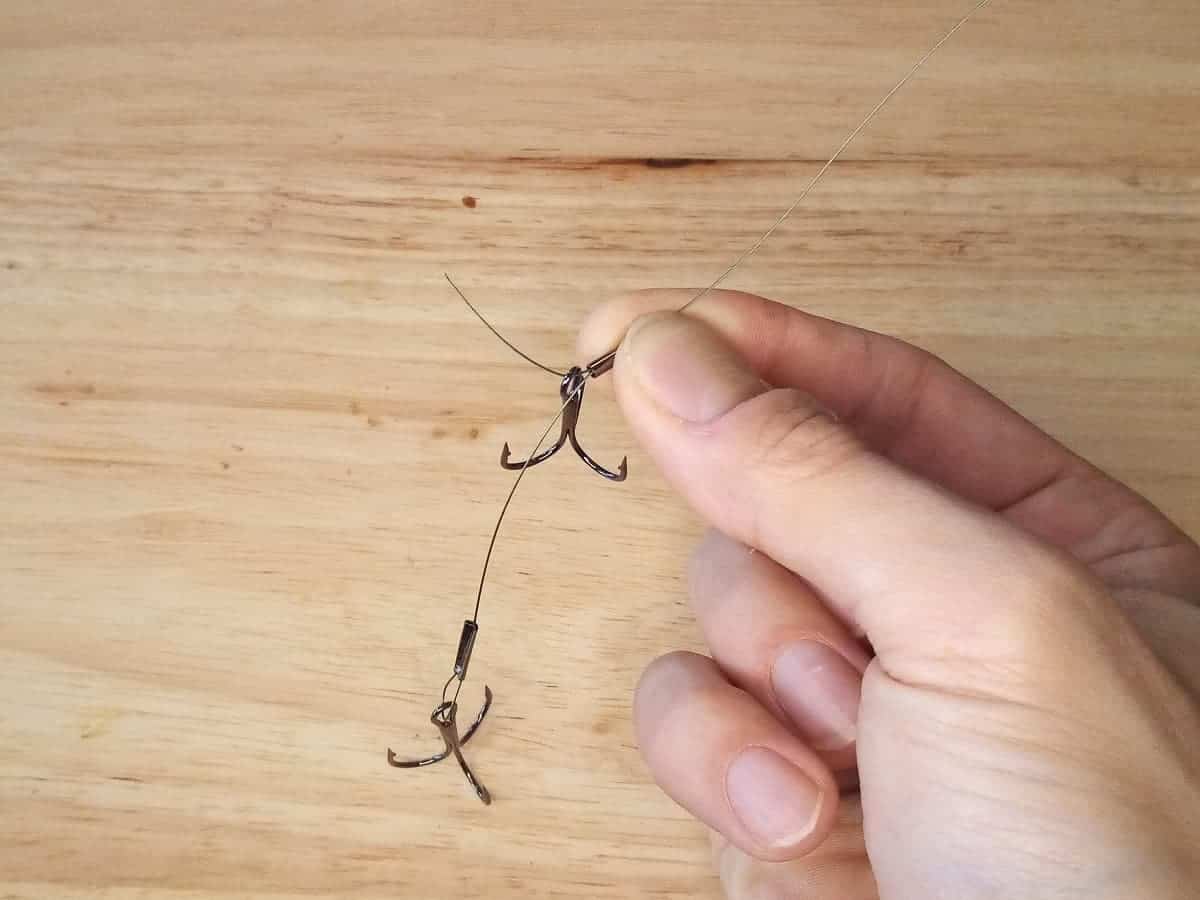
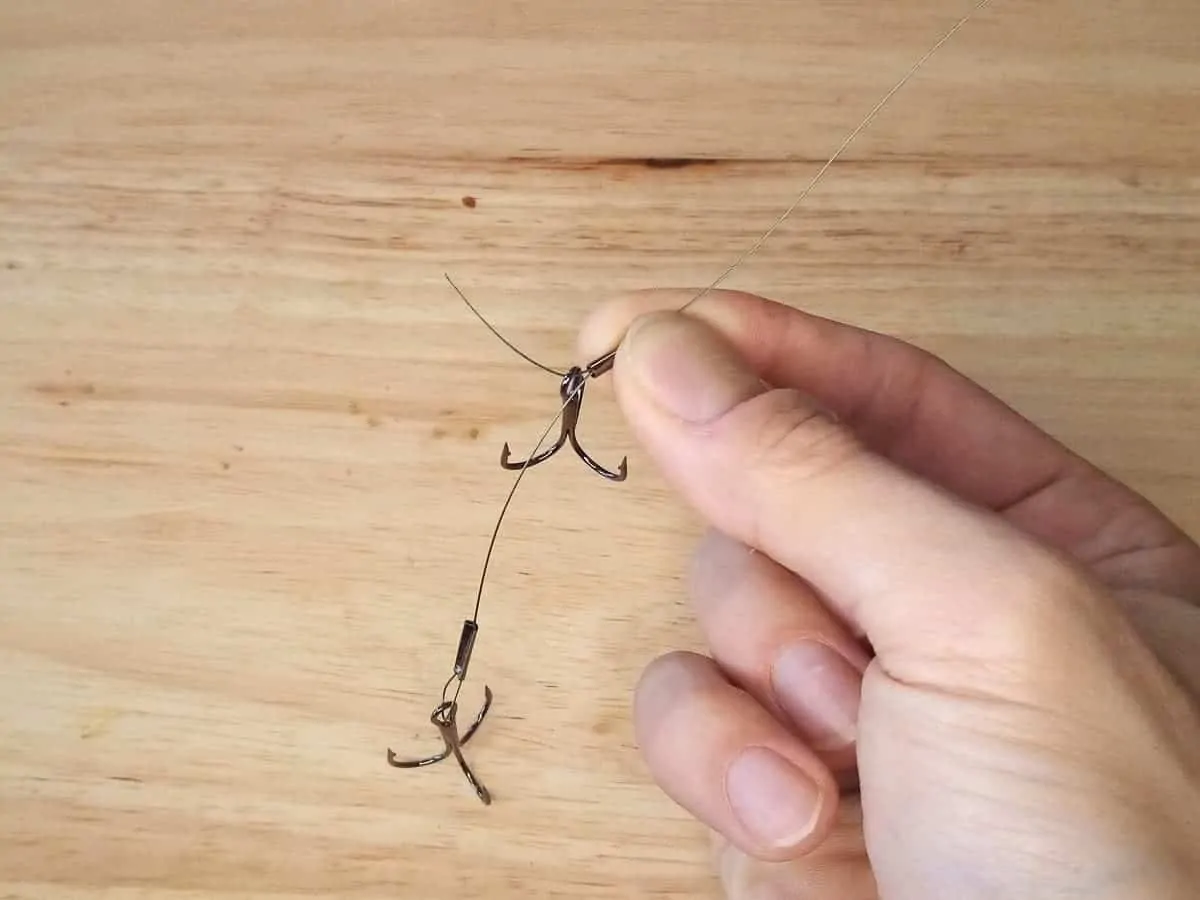
Step 3) Attach the upper treble to the wire loop
The next step is to simply put on the upper treble hook to the little wire loop. In order to do that, just open up the loop by pulling one tag end of the wire piece out of the crimp sleeve.
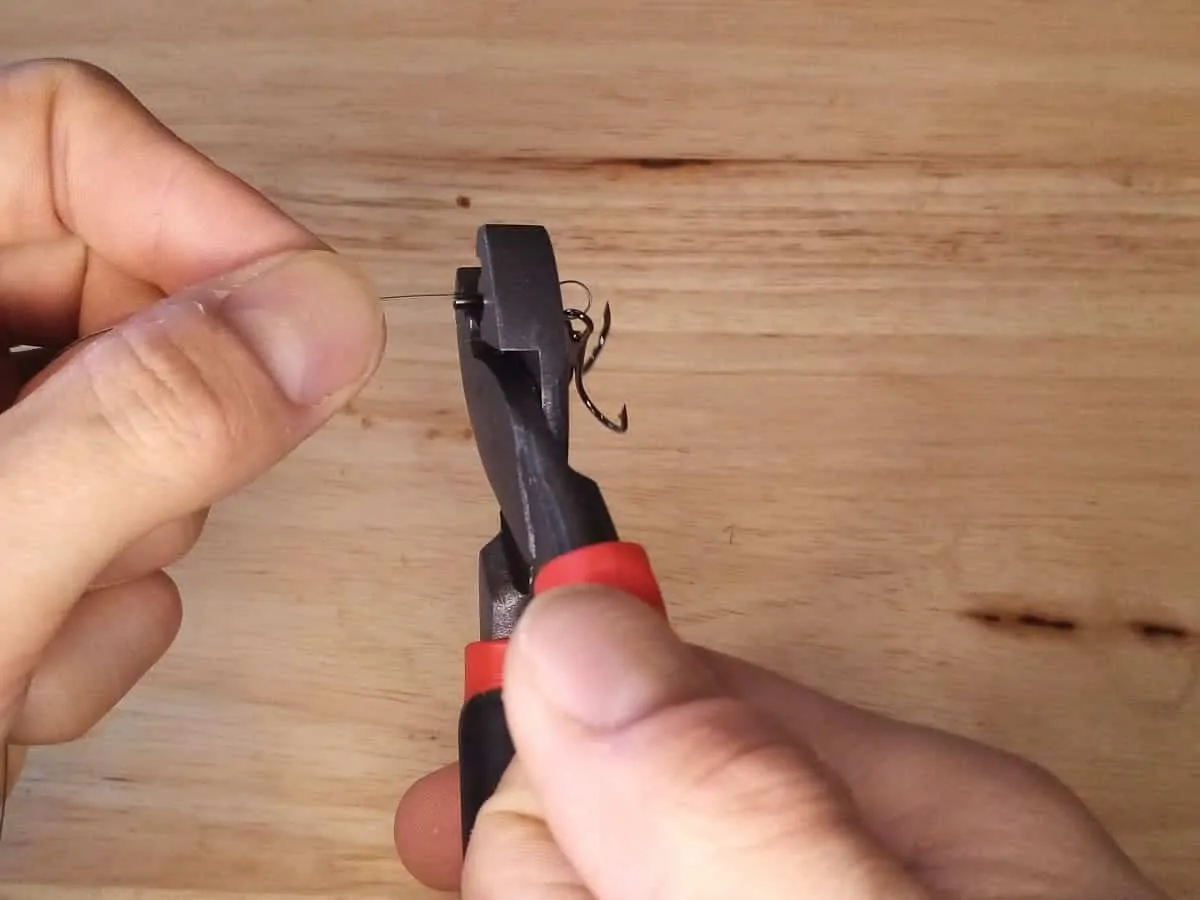
Step 4) Close the crimp next to the upper treble
When you have put the treble on, simply slide the tag end back into the crimp sleeve and squeeze the crimp firmly together with the pliers.
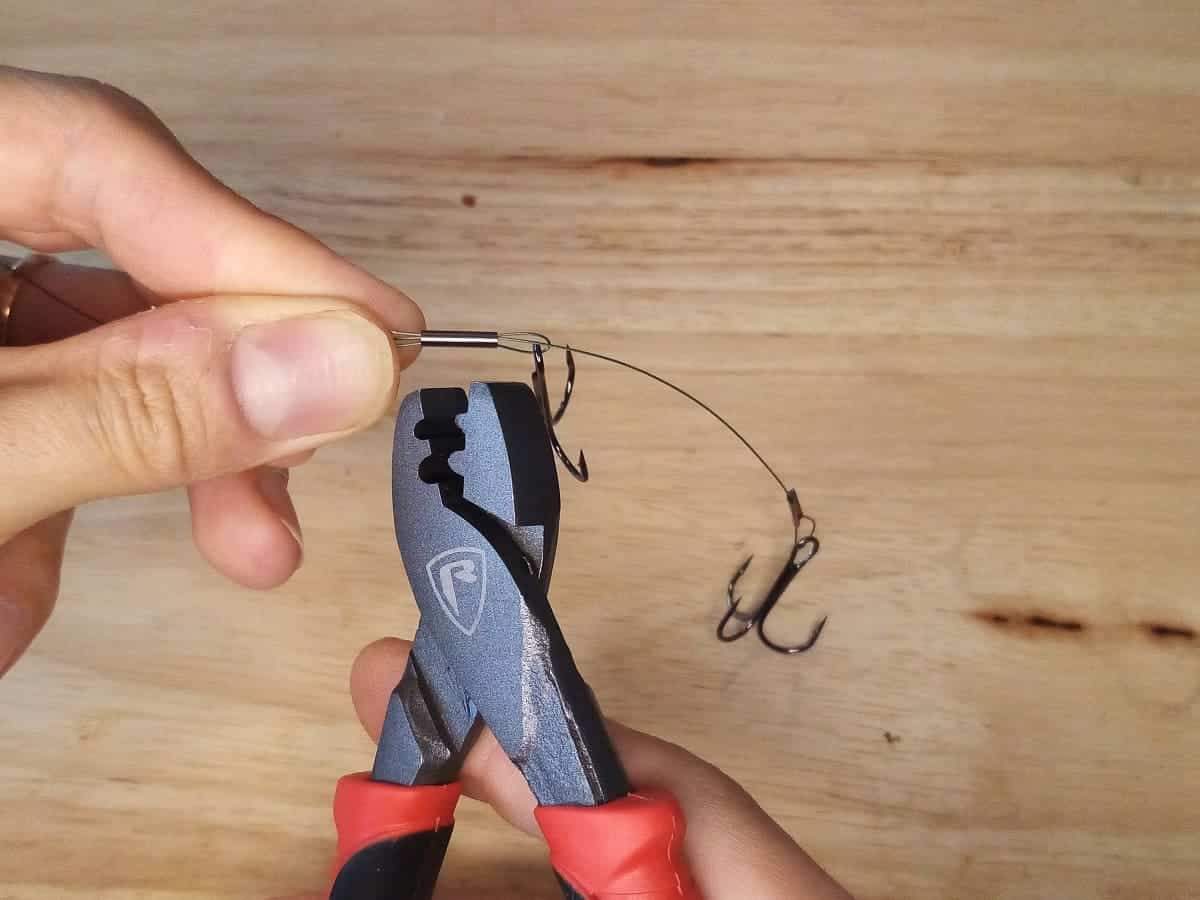

Do not forget to trim off the tag ends of the wire piece!
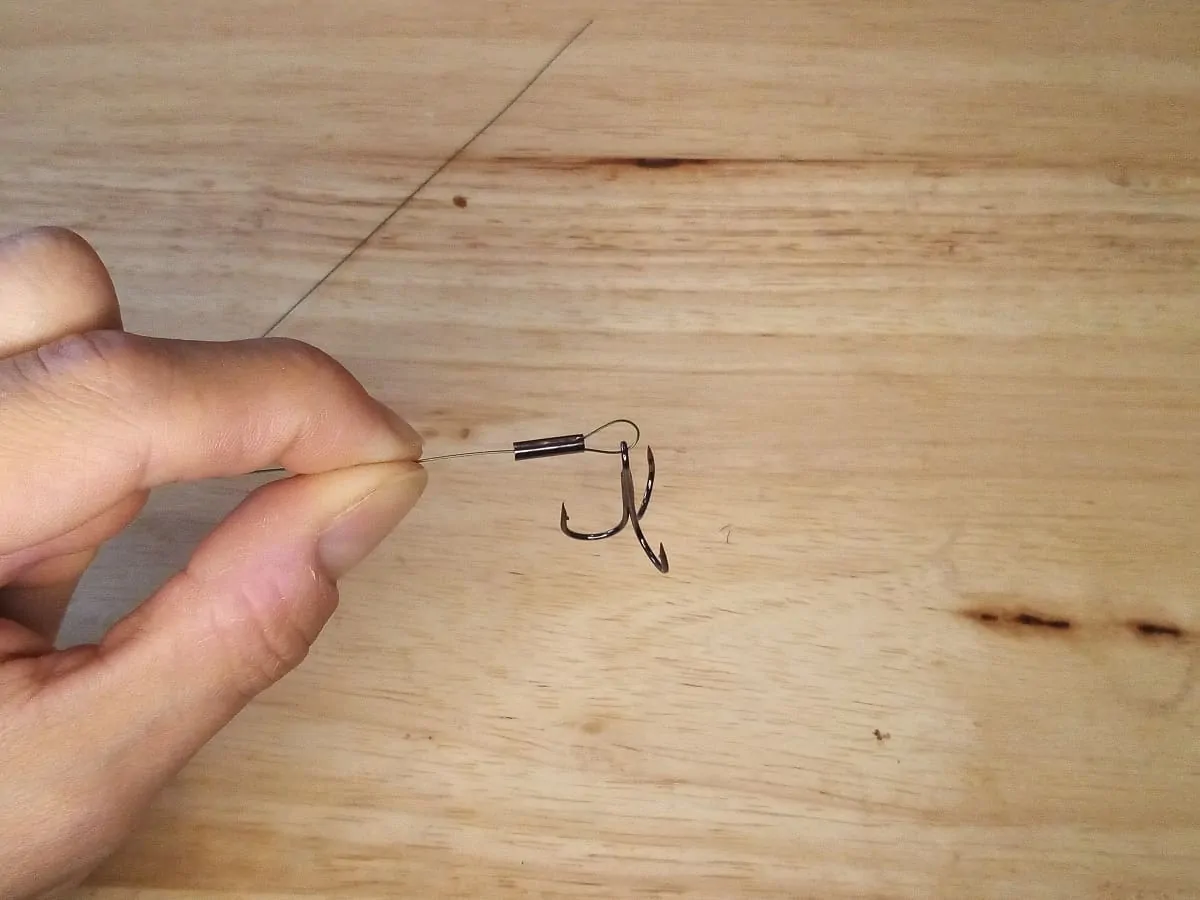
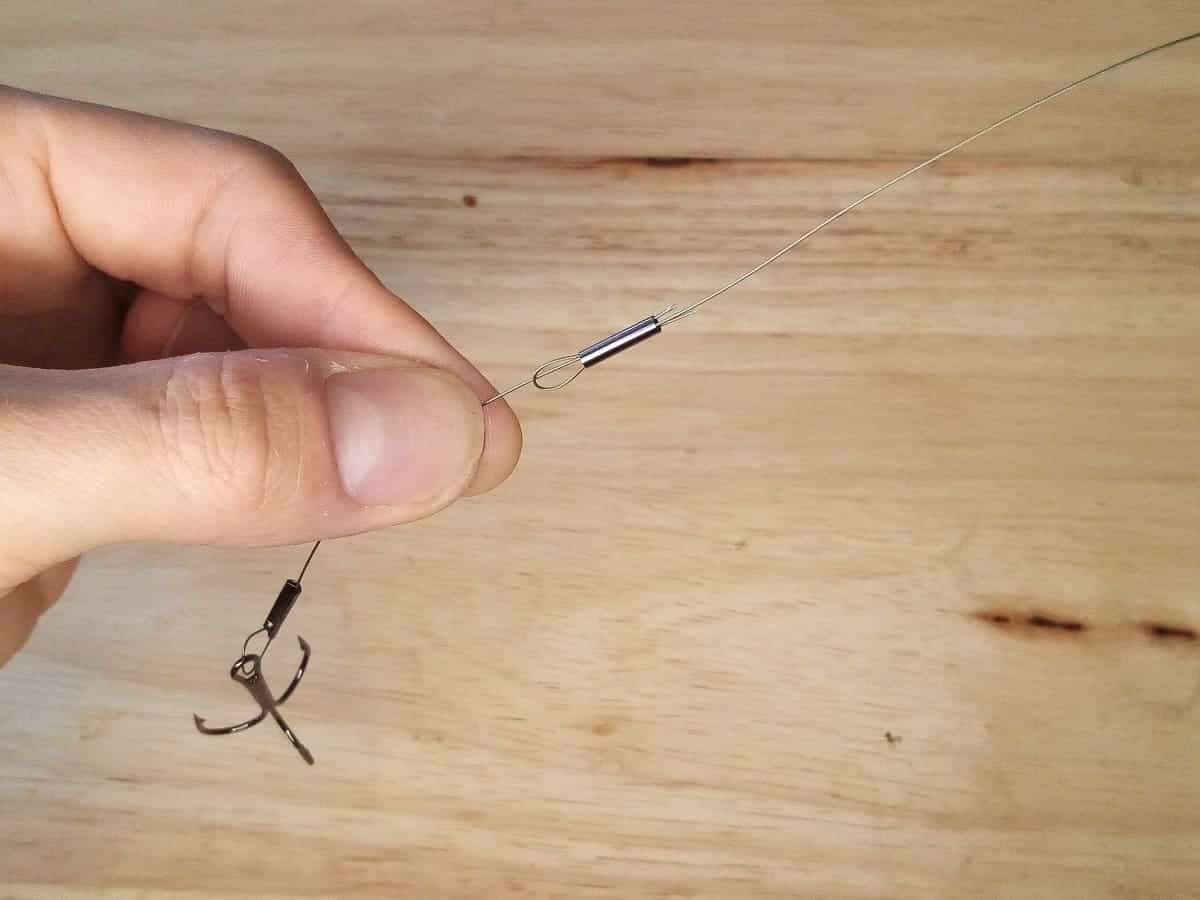
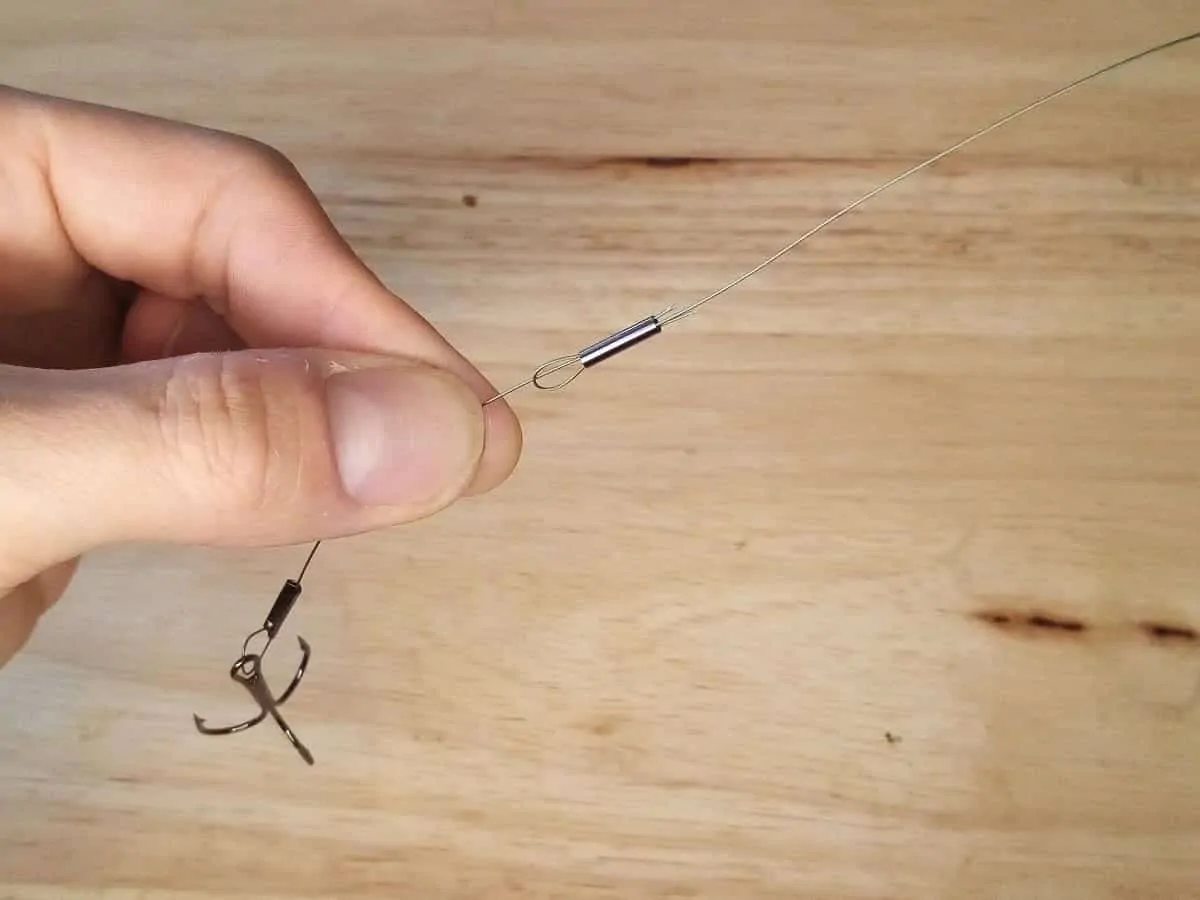
Step 5) Attach a crimp and a barrel swivel
The last step is to put on a swivel to your trace in order for you to be able to attach your bait trace to your mainline.
Once again, just loop up the swivel, thread the trace’s tag end back through the crimp and then squeeze it together.

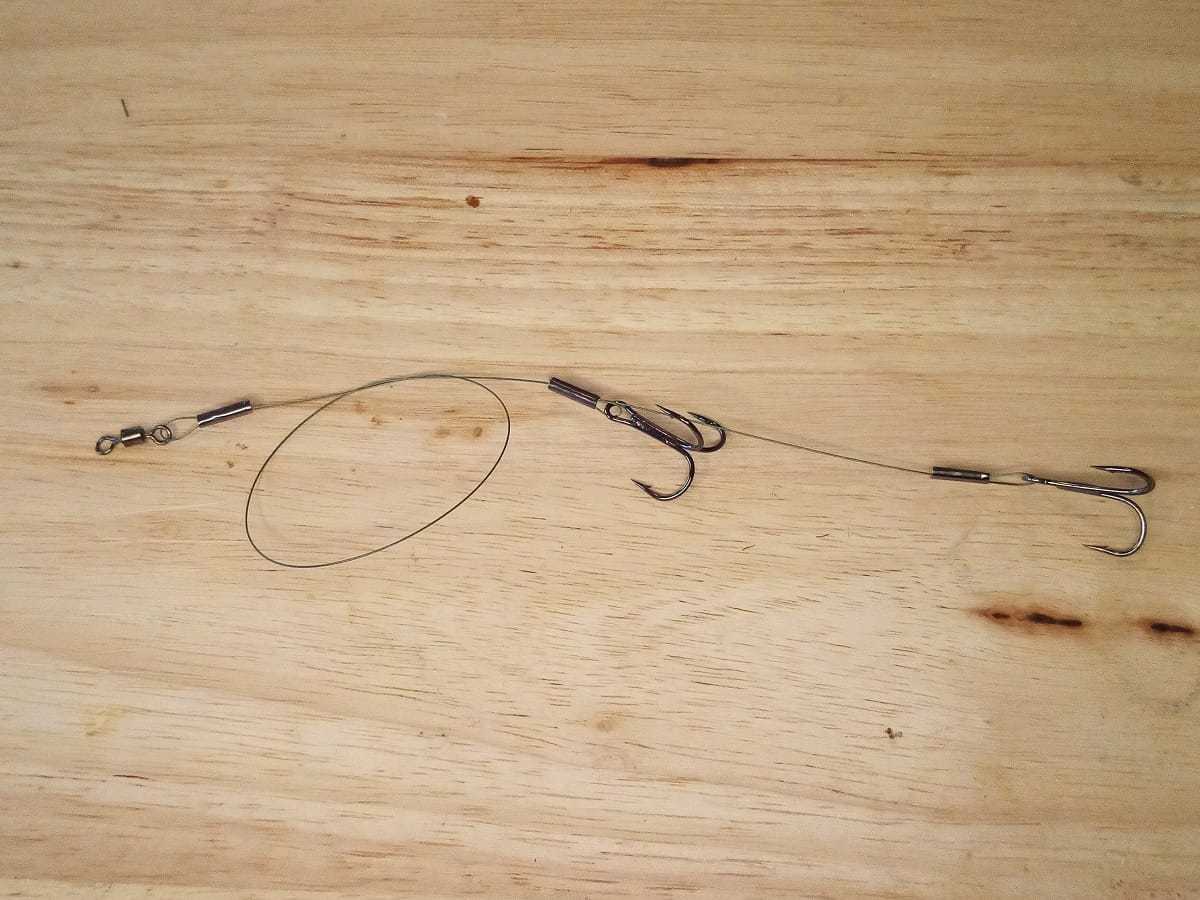
Voilá! You have now tied your very own wire trace for fishing with dead or live bait. Great job!
RELATED ARTICLE: Also check out this article if you want to read up on the very best wire traces for pike fishing!
Making an adjustable bait trace
The second alternative will have a sliding upper treble that can be used in order to adjust the distance between the two hooks to the size of the baitfish you are using.
For this trace, we can use either crimps or knots, it’s really a question of personal preference.
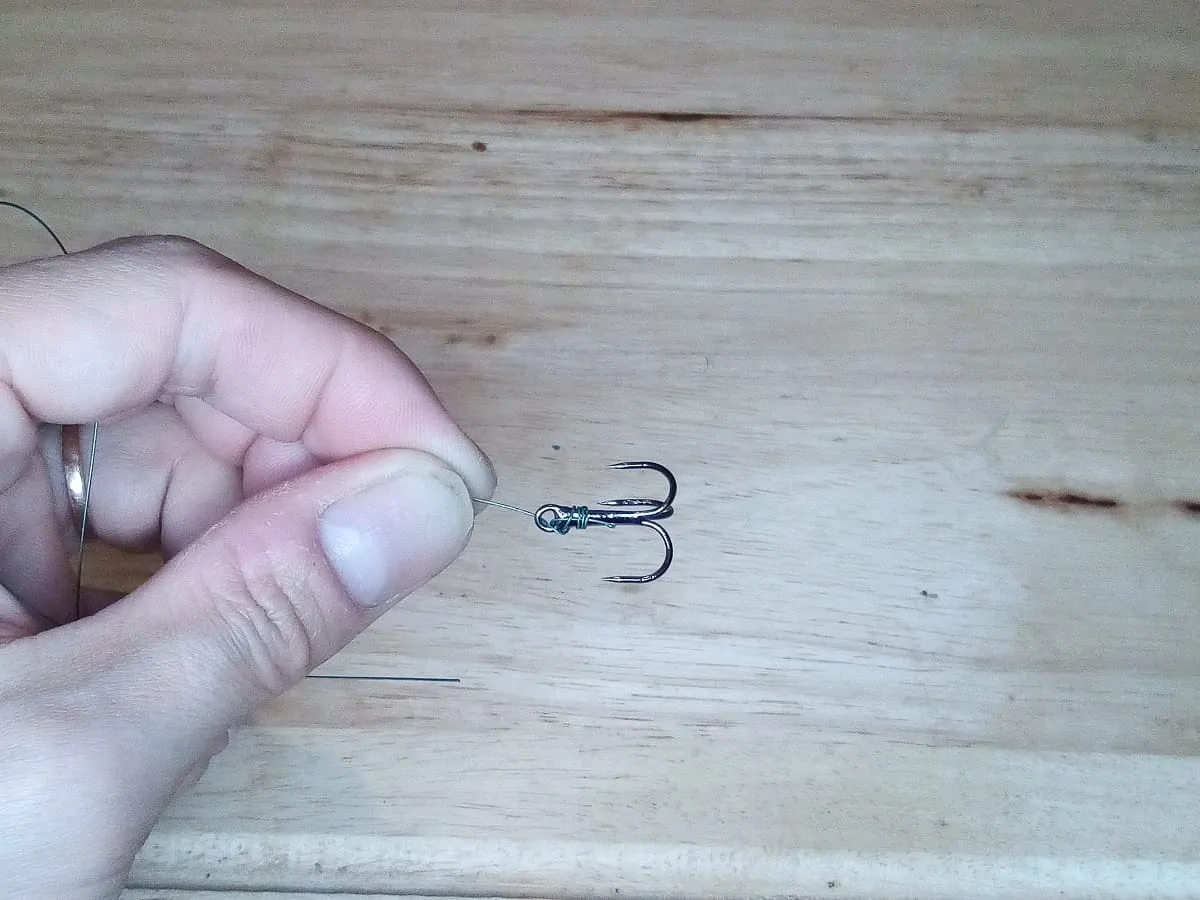
Step 1) Attach the lower treble with a crimp or knot
In order to attach the lower treble to your trace, which always serves as the base treble, you can either choose to use a crimp (just like in the first example), or a knot.
If you decide to tie your trace to the treble hook, the easiest knot to tie would be the knotless knot. Let’s use it for this example.
First, simply put the treble on your wire trace and leave about an inch of the trace sticking out from the hook eye.


Next, turn the main trace 4-5 times around the treble’s shank.

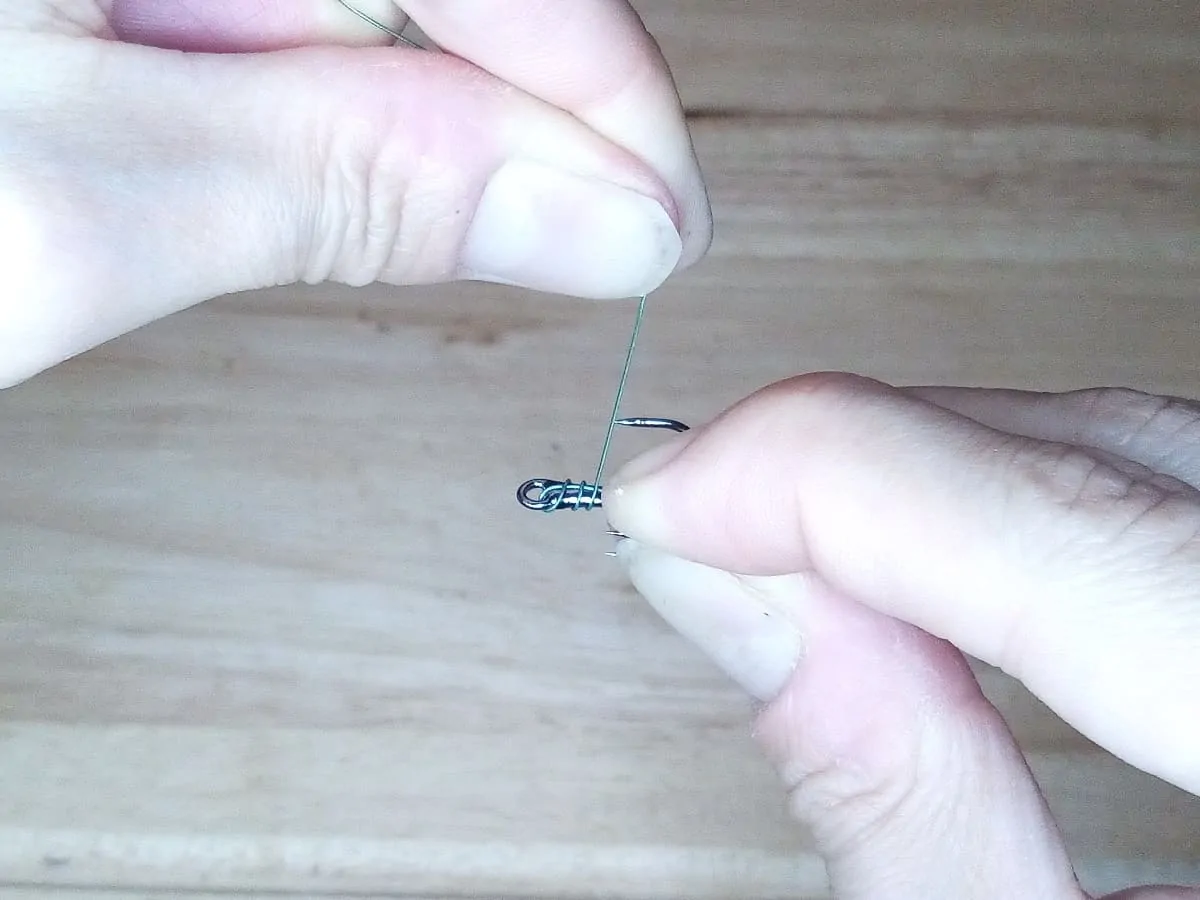
After that, thread the main trace back through the hook eye and pull the knot tight.
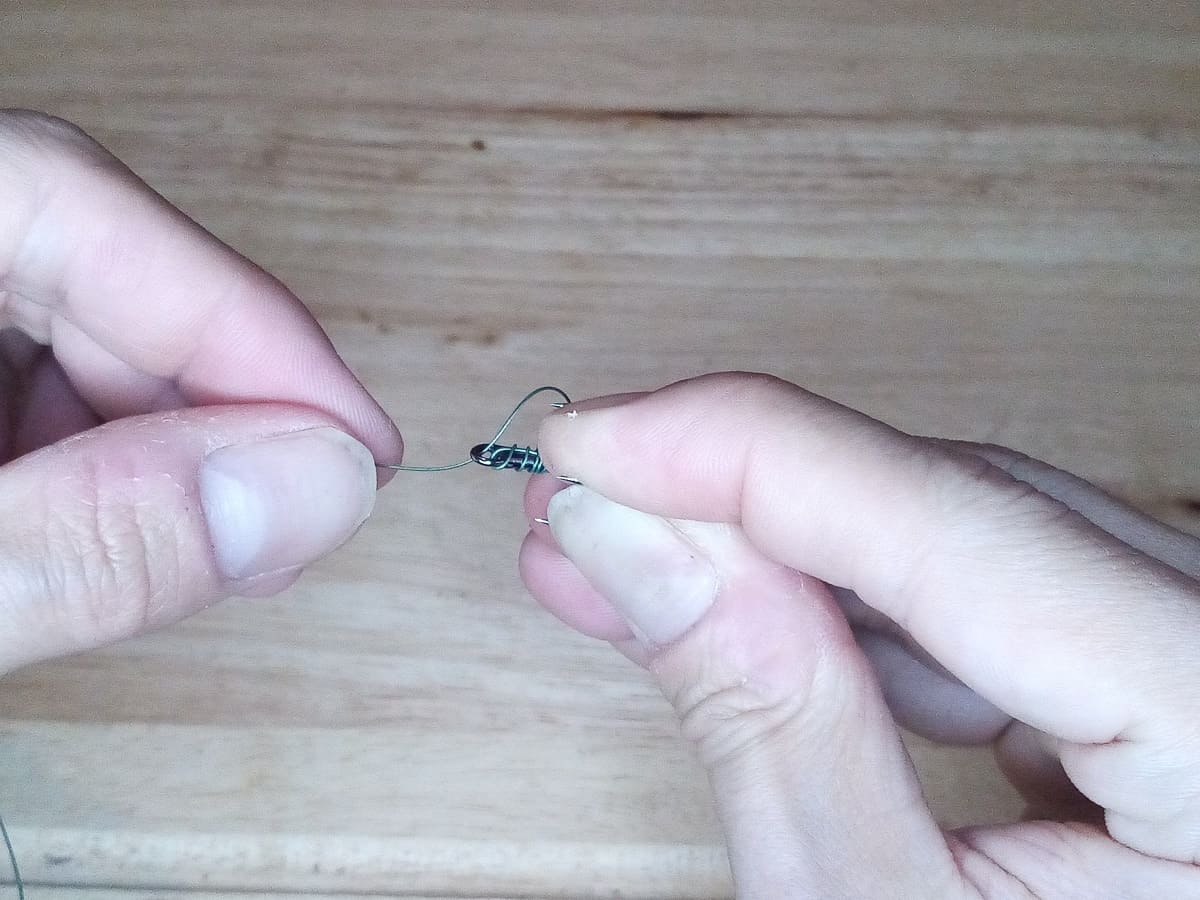

Now, you only have to trim off the tag end about 1/4-1/8 of an ich from the knot.

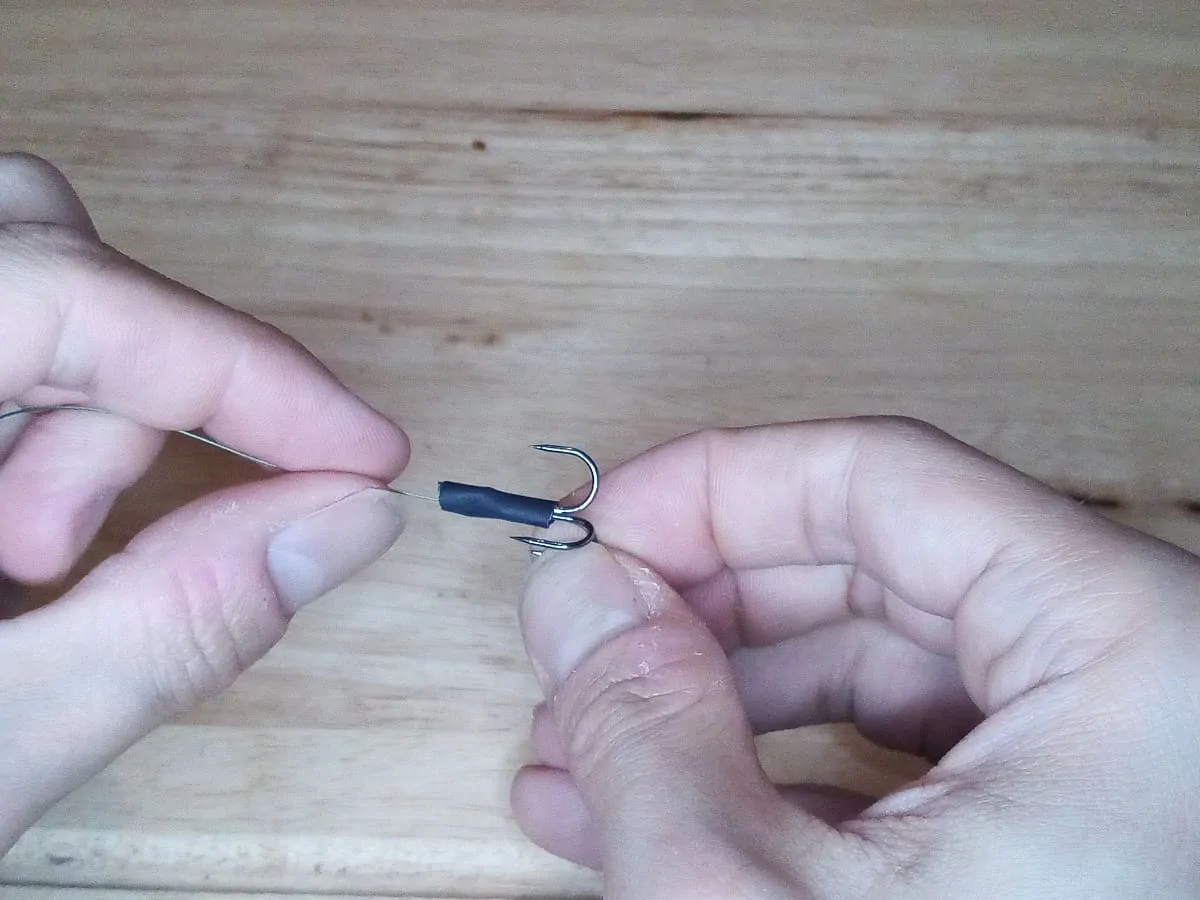
Step 2) Put on a piece of shrink tube
The next step is to thread a small piece of shrink tube on your trace and over the eye and shank of the treble, effectively covering the knot.

Step 3) Attach the upper treble (without crimping or tying it to the trace!)
Now, put on the second treble, but do not lock it in place with a crimp or a knot! Simply thread it onto your wire trace.

Now, turn the trace once around the shank, overlapping two of the treble hooks.

Step 4) Put on a second piece of shrink tube for the upper treble
In order to make the upper treble adjustable, you will have to semi-lock it with another piece of shrink tube. The tubing will keep it in place when casting out your rig and simultaneously allows you to slide the treble up or down the trace.
Thanks to this easy trick, you can always adjust the distance between the two trebles, adapting the rig to the size of your baitfish.

Step 5) Tighten the shrink tube
The next step is to tighten the shrink tube by heating it up. This can be achieved by either putting your trebles and shrink tubes into boiling water for a few seconds, or by using the flame of a lighter (just don’t burn yourself or the tubes).
Step 6) Attach a barrel swivel with a crimp or knot
Just like with the first wire trace, the last step is to put a barrel swivel on your trace, form a little loop, and to close it up with the help of another crimp or a knot.
If you want to use a knot in order to tie the trace to the swivel, I recommend the simple figure 8 knot.
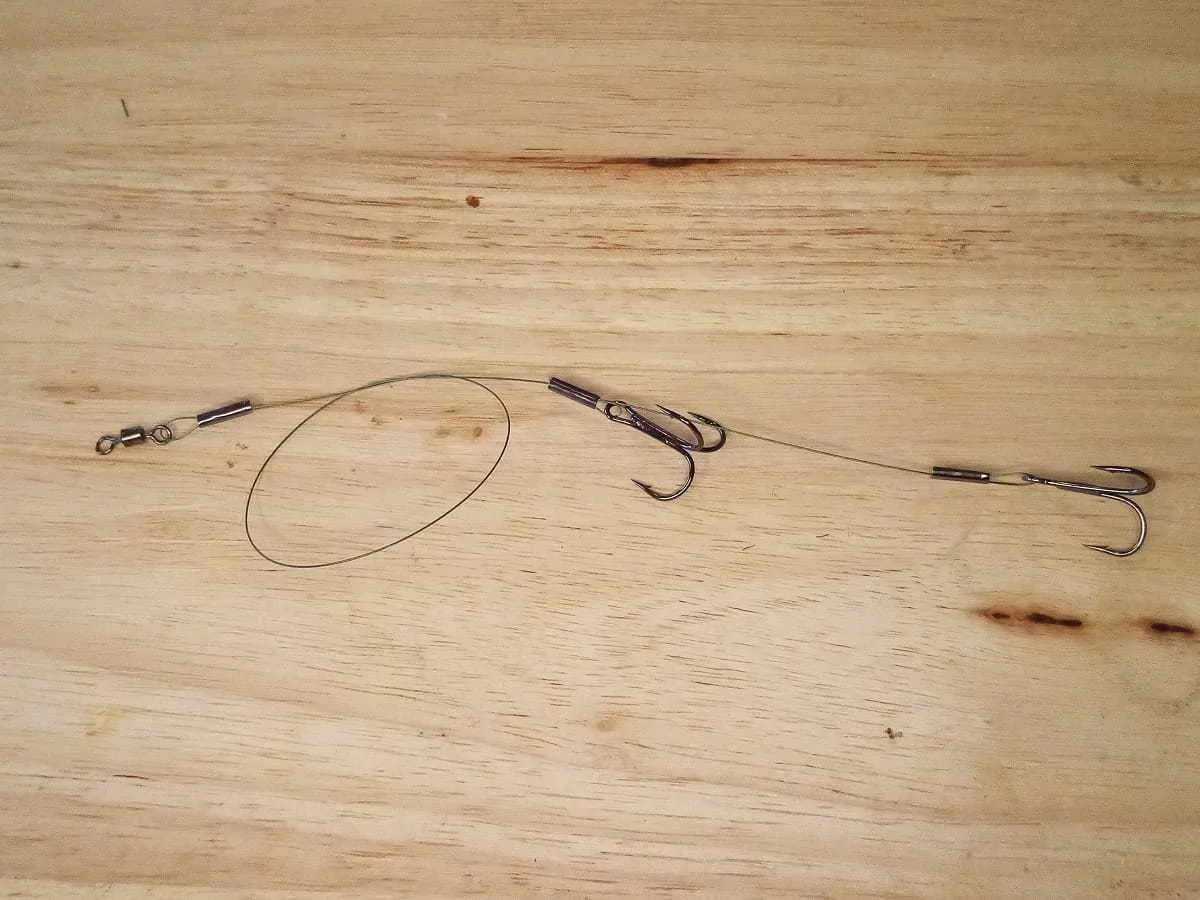
And there you go, you have now tied an adjustable wire trace!

RELATED: This article will be of great help if you are totally new to pike fishing: 50 Helpful Pike Fishing Tips for Beginners
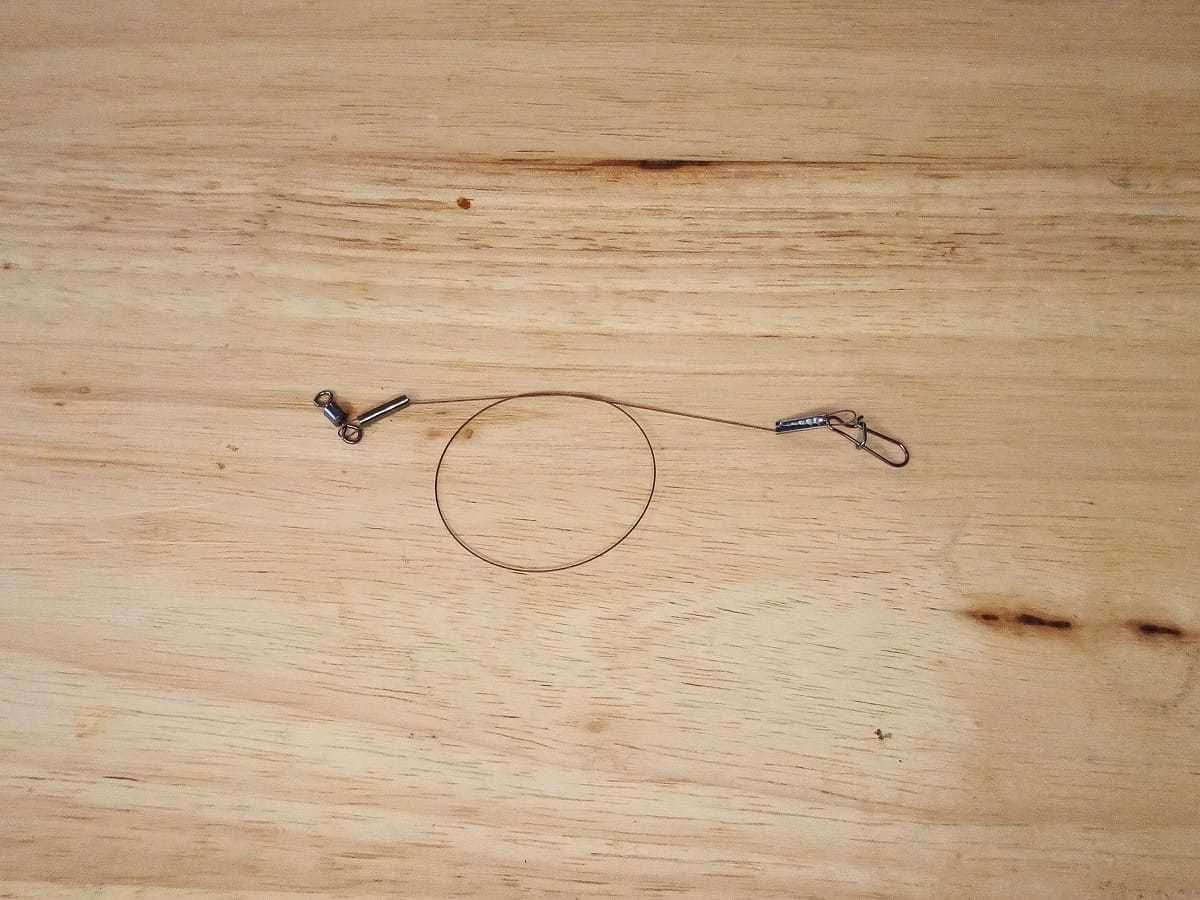
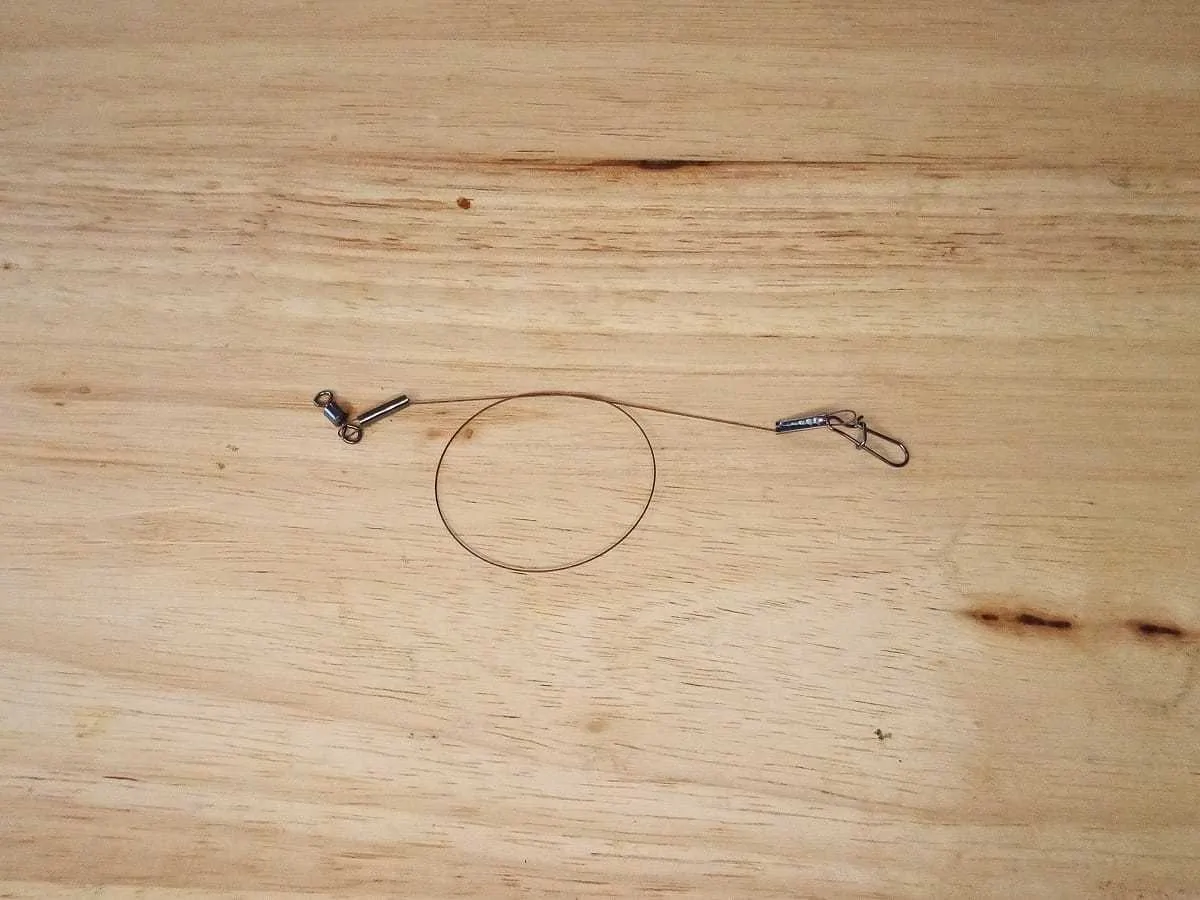
How to Tie a Wire Trace for Lure Fishing
This last trace variant is the easiest one to make. As you won’t be needing any trebles, but instead merely your trace, a barrel swivel, and a lock snap, a lure trace can be made in mere seconds.
For lure traces, I much prefer using the Daiwa Prorex Titanium Wire, as it is extremely soft and flexible. This gives the lures a very natural and lively presentation underwater.
Here is how you’d make one:
Step 1) Attach a barrel swivel using a crimp
Thread one end of your trace through both a crimp and a barrel swivel.

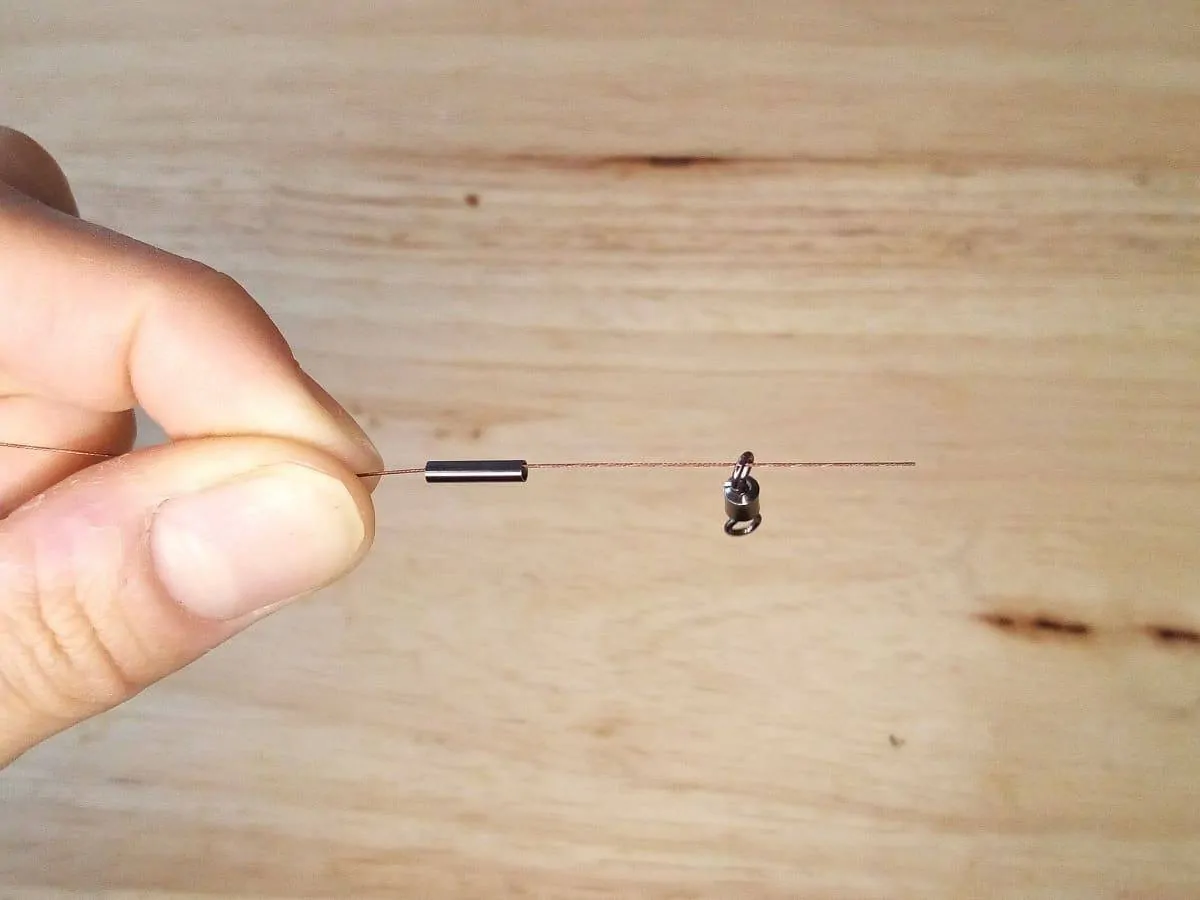
Now, form a small loop and pass the tag end of the wire back through the crimp.


Don’t forget to trim off the tag end sticking out from the crimp!
Step 2) Attach a lock snap using a crimp
Now, repeat step number 1, this time using a lock snap instead of a swivel. The lock snap will be attached to the other end of your wire trace.
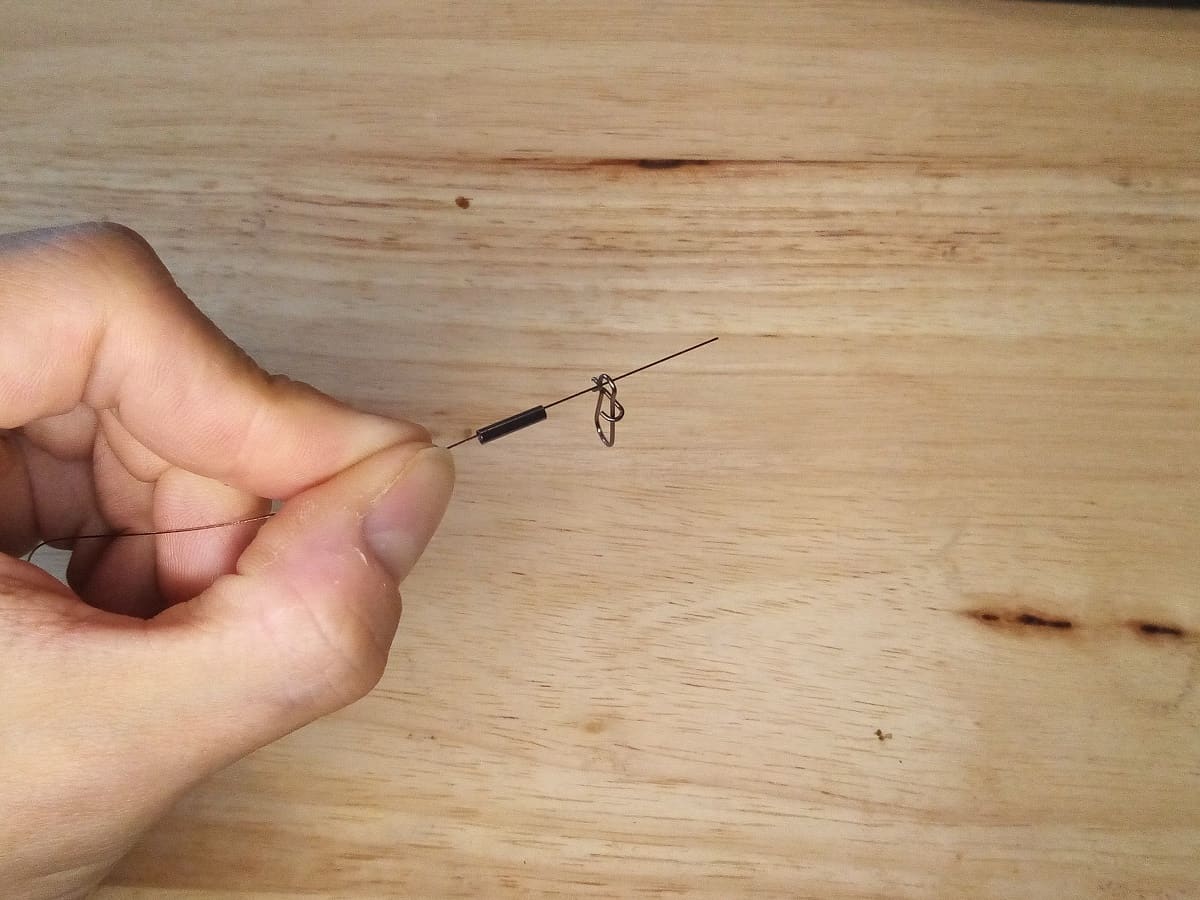
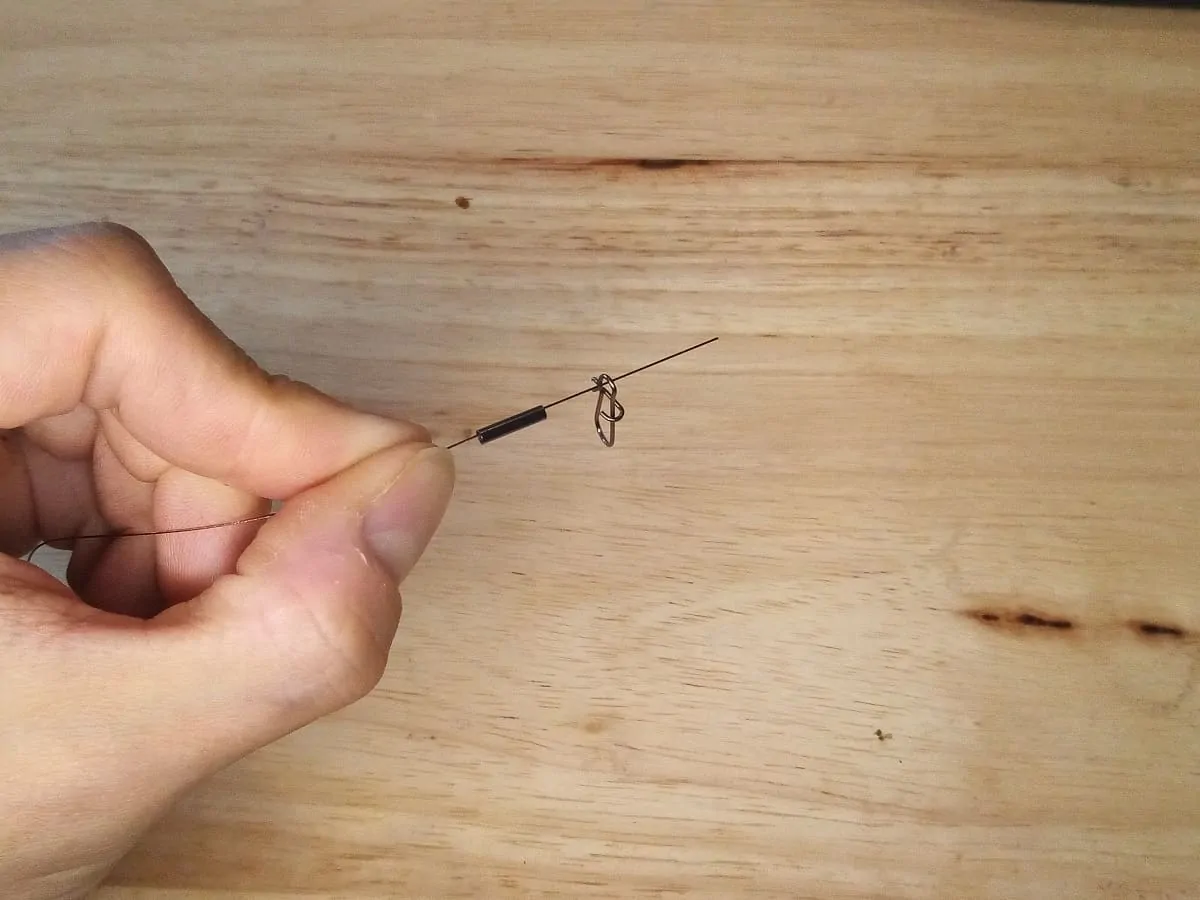
Once again, form a loop, thread the tag end through the crimp, and close the crimp with the pliers.

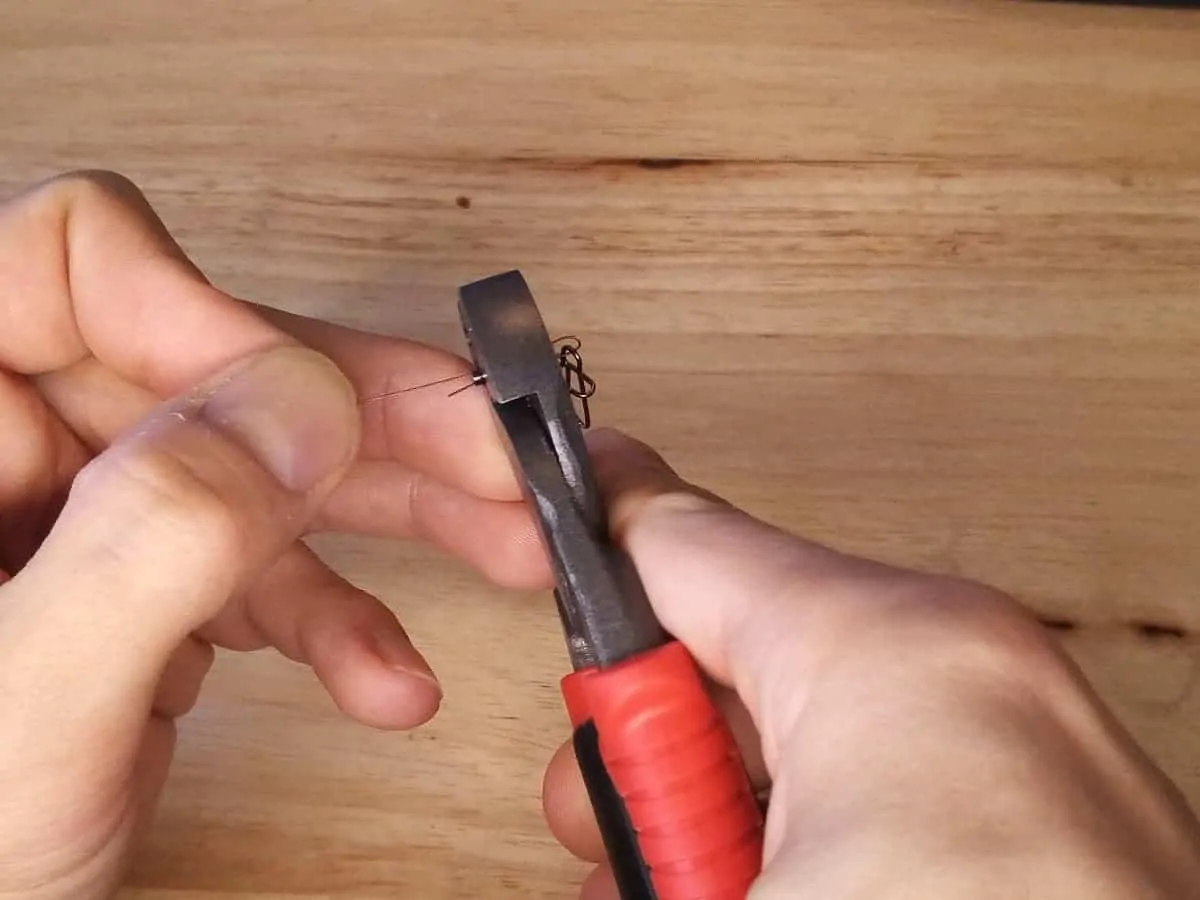
That’s all you really have to do! Your lure trace is now ready for action!
Head over to this article for helpful pike fishing tips and tricks: What Is the Best Time of Year to Catch Pike?
Why Using Wire Is Essential for Predator Fishing
No matter if you are fishing for zander, perch, or pike, the common denominator and the best argument for using wire traces spells pike teeth!
Hence, when targeting pike, there is really no debate on whether or not one should use wire traces. The teeth of the pike are extremely sharp and can cut through any type of fishing line.
Thicker fluorocarbon can withstand many pike bites, but eventually, even this material will get weak points and either break or have to be replaced by a new trace.
With wire material, this will simply not happen!
And when it comes to zander and perch, very often, the reasoning goes in the same directions. Many zander and perch waters also hold plenty of pike and you simply cannot control which species is going to take your lure or bait.
If you are choosing wire traces for all of these species, you are doing both them and yourself a huge favor! They will skip swimming around with hooks in their mouths and gullets, and you will save valuable time, money, and end tackle!
Better safe than sorry, right?
Make sure to also read the in-depth article I wrote on this particular topic: Do You Need a Wire Trace for Pike?
Related Articles
If you want to read up even more on wire traces for various predators besides pike, here are a few convincing articles I have written on the subject: